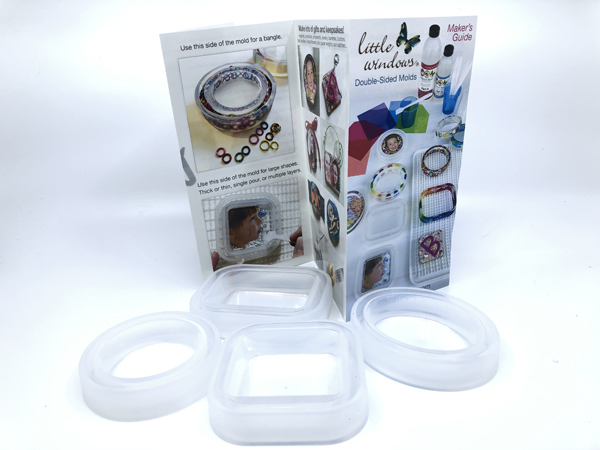
Fran Valera of Little Home windows despatched me their new intelligent double-sided silicone molds set to attempt. These make not simply resin bangles however bigger geometric ornaments and trinket dishes.
There are four dimensions and shapes which come individually or as a set. Be aware : LW presents a 15 % low cost for all readers – simply use this code : BG1516.
I positioned my fingers as if I used to be going to placed on a bangle after which measured the widest a part of my hand across the knuckles. Seems I’m a small – the circle mould which inserts as much as eight” (20.5 cm). The oval medium matches as much as eight.5″(22 cm), the sq. medium matches as much as 9″ (23 cm) and the rectangle matches as much as 10″ (25.5 cm).
The double-sided molds are extremely versatile. Simply watch Fran present the alternative ways you need to use them. Anyone who’s inventive can have their minds blown whenever you see the inspirational concepts! I do know mine was!
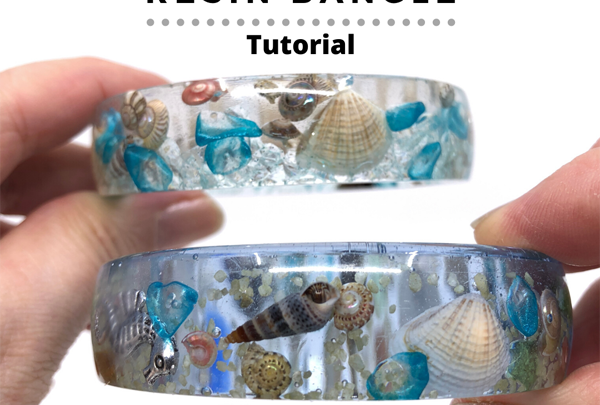
I made a decision to make use of the small spherical and the medium oval and make simply resin bangles for this tutorial.
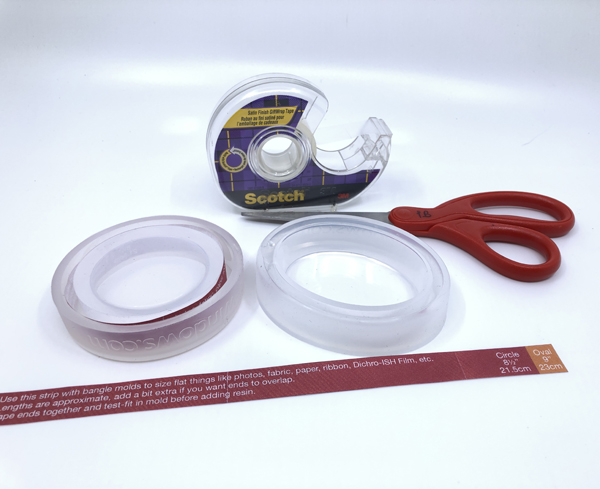
The useful leaflet that comes with the merchandise have a whole lot of helpful info together with how a lot resin you want to your tasks. Additionally useful is the strips which show you how to dimension flat issues like tape, cloth, photographs, ribbon and many others. Quite than lower the leaflet itself, I simply photocopied it and received my additional strips that means.
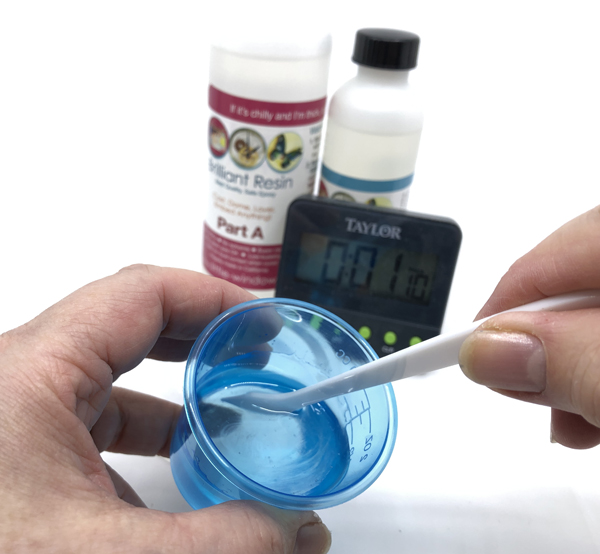
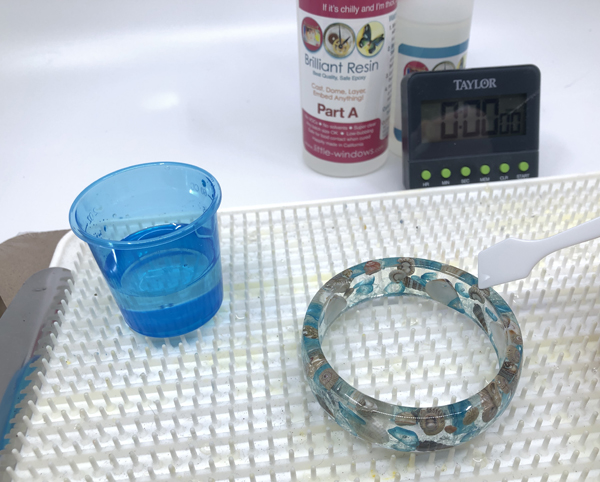
I significantly love utilizing Little Home windows’ Good Resin. It’s a superior product – I’ve used numerous different manufacturers. It’s non-toxic, low bubble producer and jewellery grade doming resin. Good Resin is made in California, a state with a few of the hardest atmosphere and security rules within the US.
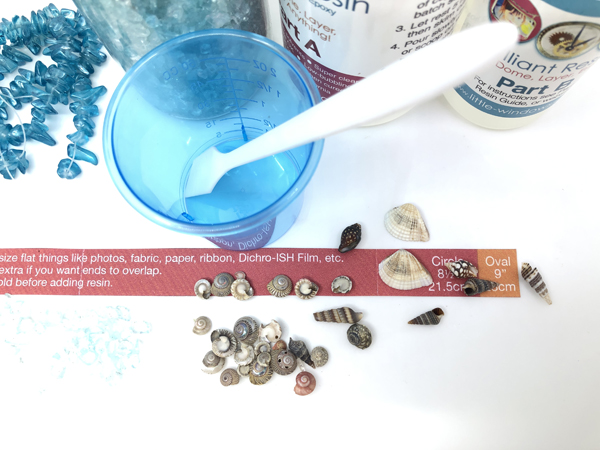
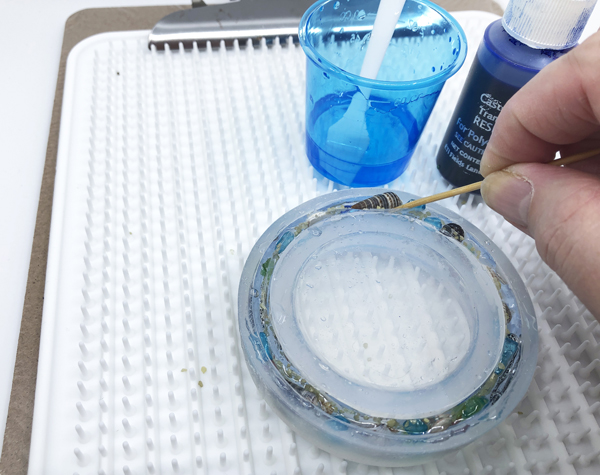
Because the bangles have been ocean impressed, I used the strips to certain that the shells I used to be utilizing will match contained in the molds. The opposite elements like glass chips have been high quality. I then made up the resin in accordance the directions. Microwaving Half A for 6-7 seconds helps cut back bubble formation.
All the time pour some resin into the mould earlier than you add any inclusions. That is to make sure that there may be resin proper on the backside of the mould. I additionally slowly poured the resin into the mould whereas the latter was tilted. This helps cut back extra bubbles from forming. I did not fill the mould all the best way to the highest – about 60- 75%. When you add issues to it, the extent of the resin will rise – bear in mind the Archimedes precept!

I used a toothpick to push down the inclusions and topped up with extra resin to the highest of the mould. I additionally makes use of a popsicle stick or a wooded skewer to brush throughout the highest of the entire mould to take away any extra resin. As Fran suggested, I did verify for late creating bubbles which rose to the highest. Popped these with a toothpick. Bubbles on the high have to be eliminated as they may damage the perimeters of the completed items.
Don’t use a torch to take away bubbles. You’ll danger bonding your challenge to the mould completely. I’ve discovered that deep set bubbles in doming resins are fairly laborious to take away. The one actual resolution is to make use of a vacuum pump and chamber like this one. Inside bubbles do go well with the ocean theme I used to be going for! So I used to be chill.
I lined the mould and allowed the resin to remedy in a single day. Peeling the resin bangle out of the mould the subsequent day was simple!
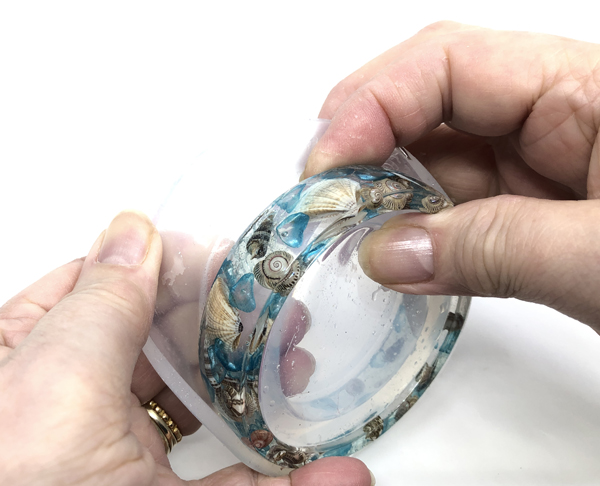
I simply liked the way it turned out. Discover how the glass chips sank however a few of the tiny spherical shells floated? I missed pushing down one floating shell!
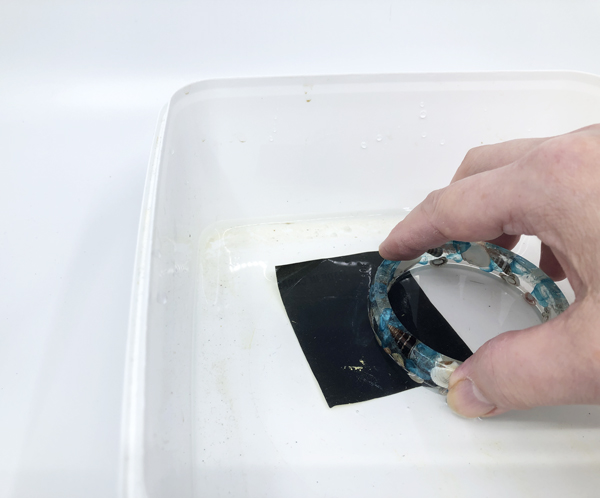
Even when you do not have one thing like that poking out, the highest edges of the bangle profit from a sanding to make them clean. I used 400 grit wet-dry sand paper submerged in water to comprise the mud – essential whenever you work with sea shells (see this cautionary information story).
A ditch kinds within the high rim of the bangle. That is because of the floor pressure impact of a doming resin. So following Fran’s directions within the video, I added extra freshly made resin to fill the ditch. Do not overdo this. In any other case any drips down the perimeters should be sanded after which the resin polished. I like to recommend Flitz, an eco non-toxic polish if you end up having to do that.
For my second and third bangles, I used heavy obligation Scotch tape to see if I might distribute inclusions extra evenly fairly then allow them to sink or float. I lower two strips of tape with sticky aspect up. My information strips have been positioned beneath.
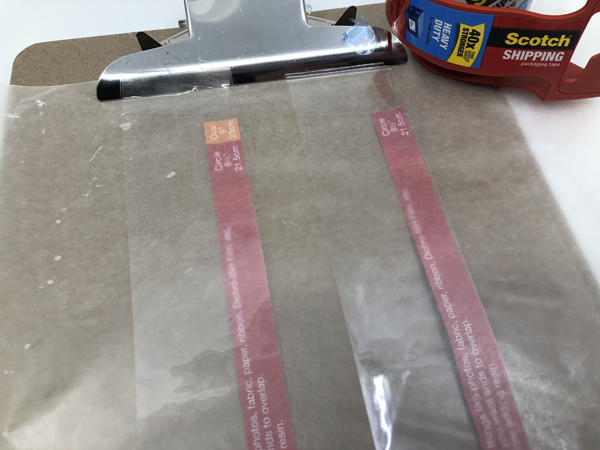
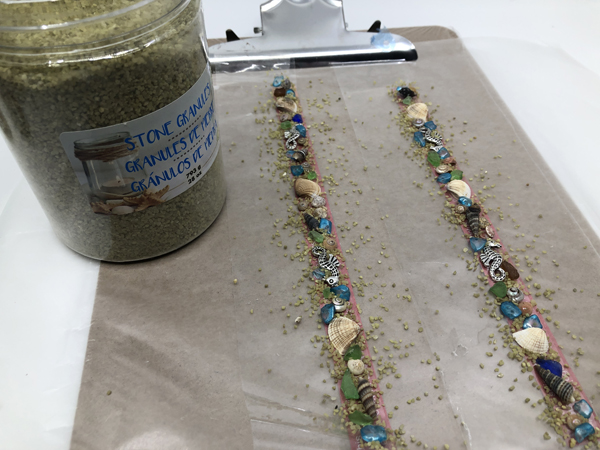
I caught down the inclusions I needed together with small items of sea glass (NB – resin removes their frosted look – so you recognize).
As my Scotch tape was vast, I needed to trim it down to suit the mould. These guides are useful!

I had an overlap of tape to finish the spherical. Proven beneath is my “dry becoming”of the ready tape to ensure it matches into the small spherical mould.
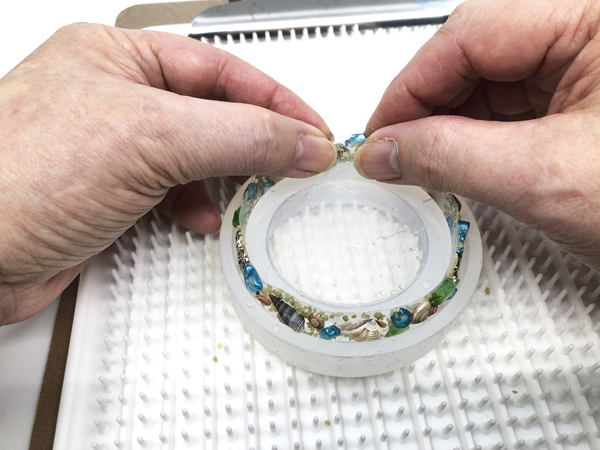
I added a single drop of clear blue resin dye to offer a tint to some freshly ready resin. Like the primary bangle above, I poured and crammed the mould to about half means up or so. I then positioned the ready tape into the mould. A toothpick helped me ease it all the way down to the underside.
The opposite steps are the identical. Prime up with resin if obligatory. Do a sweep of the highest of the mould to take away extra resin. Cowl and let remedy over evening. Sand high edges clean. Then a last top- as much as fill the ditch.
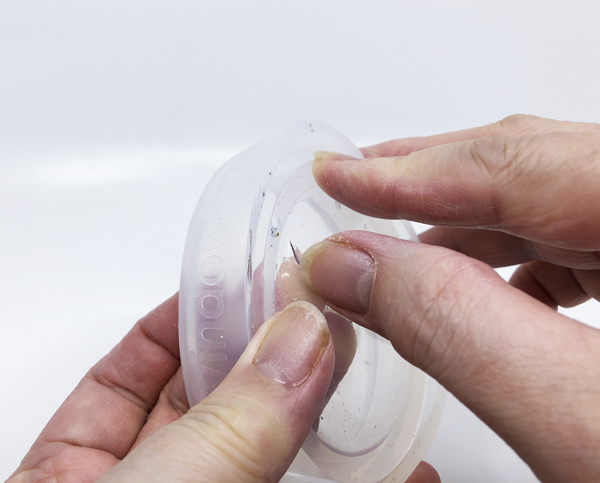
Cleansing the molds after use is simple – simply bend them and peel off the bits of resin.
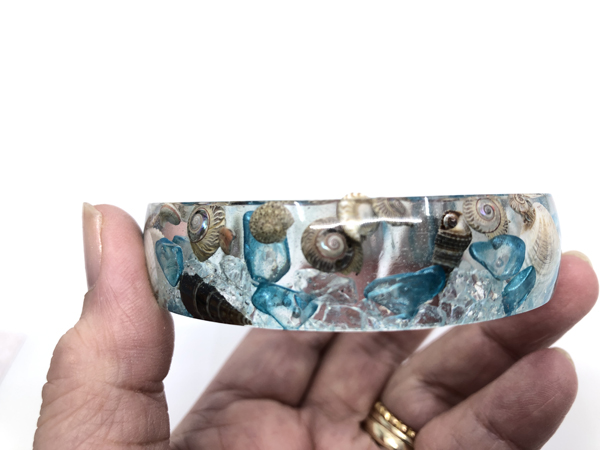
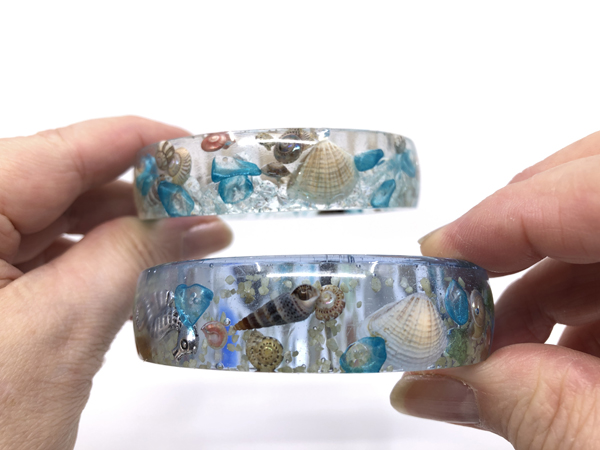
Right here is the comparability of the spherical and oval bangles. I added a number of drops of clear blue resin dye to the medium oval simply to see the way it appears to be like.
The highest bangle beneath was made with resin containing simply 1 drop of clear resin dye.
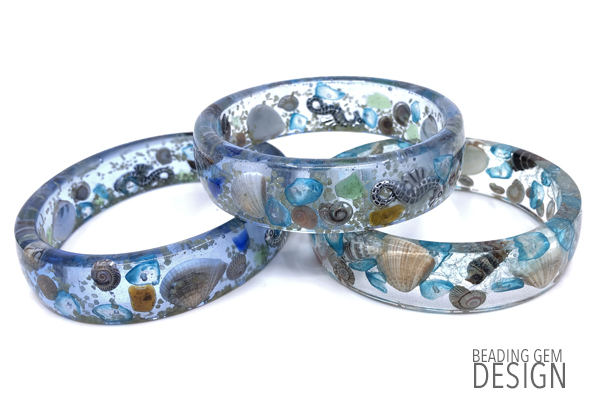
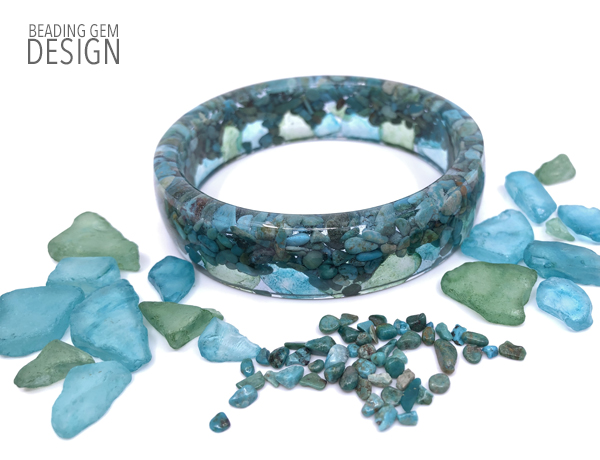
I additionally made one other small spherical resin bangle utilizing bigger items of inexperienced and light-weight blue sea glass. I let these sink to the underside earlier than including turquoise gemstone chips. I discovered that you simply do want fairly a little bit of turquoise chips if you wish to pack them in.
Because the chips displace a good quantity of resin, it helps to fill the mould with simply 50% resin to start out with. I added the chips part by part. By the point I got here round once more, the primary chips had settled down and I might add extra. I repeated this course of till the chips reached the highest.
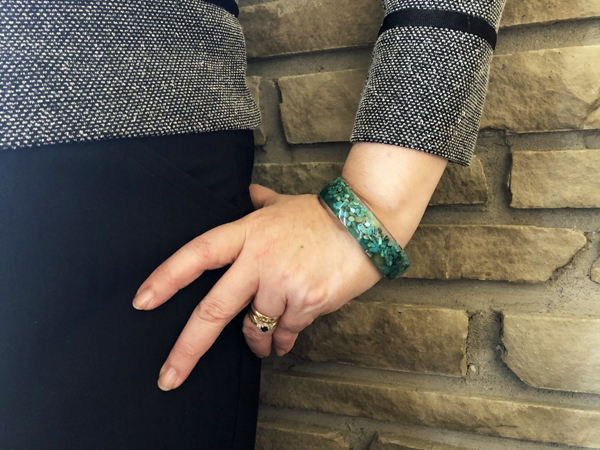
Personally, I used to be by no means a fan of bangles. However this challenge made me a convert! Love my new bangles!
Pictures
I struggled with pure gentle pictures for the ultimate product photos on this tutorial so I went with all synthetic gentle pictures. I used my iPhone eight+ and the Orangemonkie studio which comes outfitted with LED lights – for synthetic gentle pictures in my windowless basement studio. These lights are very shiny and thus thought for resin tasks. The Foldio2 Plus is superb . I take advantage of the Foldio3 as a result of I would like the room for tutorial pictures. Try my How one can Photograph Jewellery Webinar .join the notification so I can let you recognize when my e-book is prepared.
Earlier than You Go:
Disclosure
This weblog might comprise affiliate hyperlinks. I do obtain a small charge for any merchandise bought by means of affiliate hyperlinks. This goes in the direction of the assist of this weblog and to offer useful resource info to readers. The opinions expressed are solely my very own. They’d be the identical whether or not or not I obtain any compensation.
______________________________
Unique Put up by THE BEADING GEM
Jewellery Making Suggestions – Wire JewelryTips -Jewellery Enterprise Suggestions


